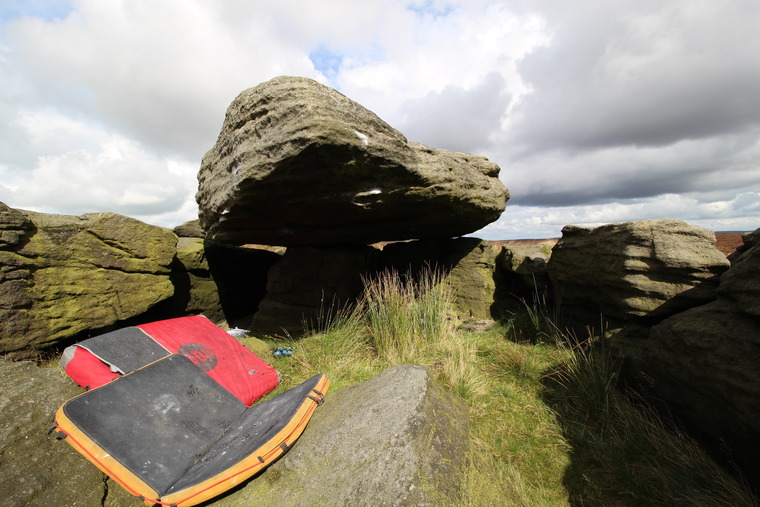
A variant on the original Boggy's Roof (and perhaps the more obvious route). This is the version described in the YG vol. 2 guide and in a number of videos, hence many believe this to be the 7B tick when it in fact is demonstrably easier. Surmount the nose using everything.