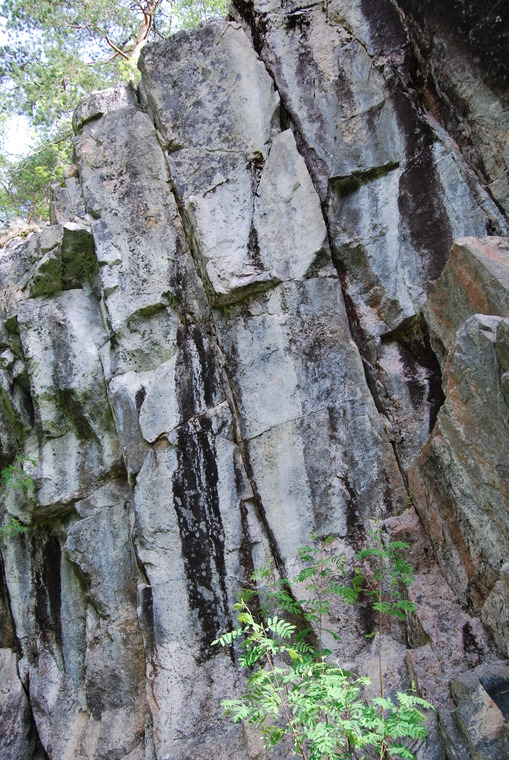
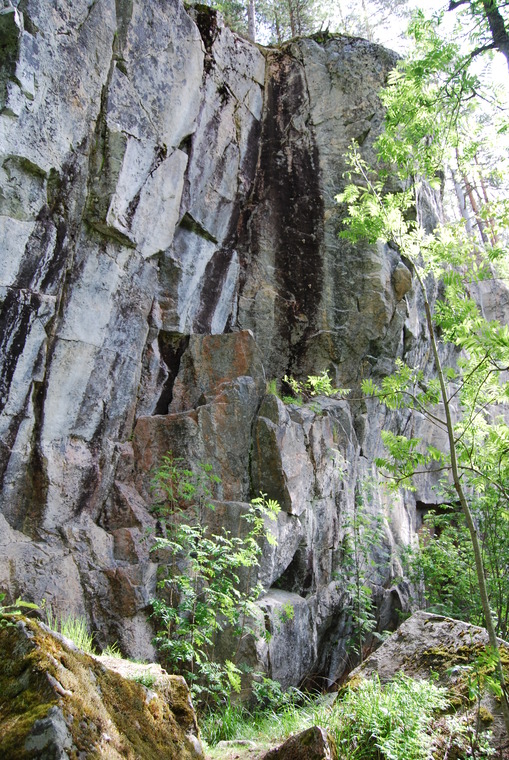
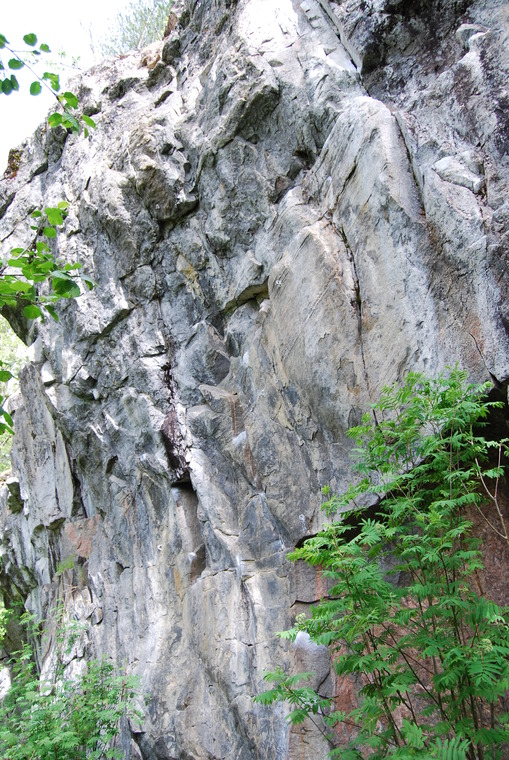
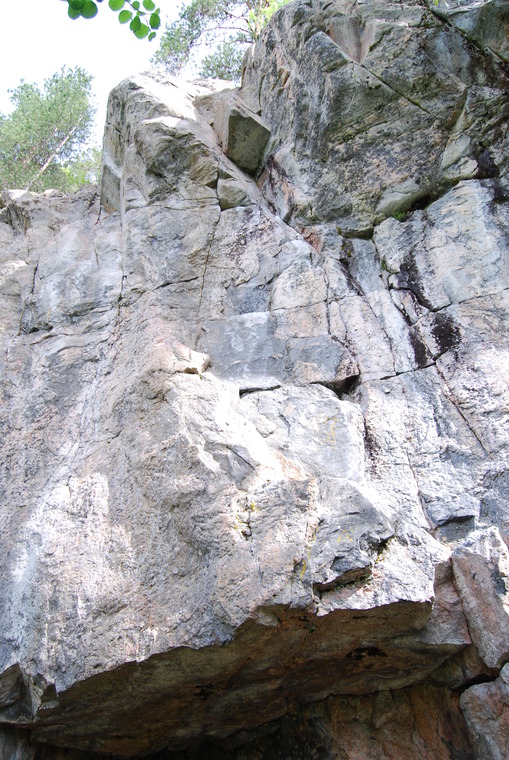
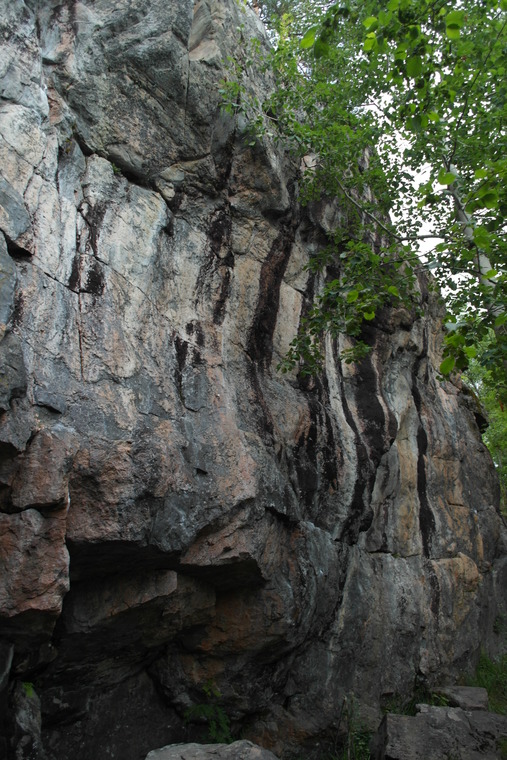
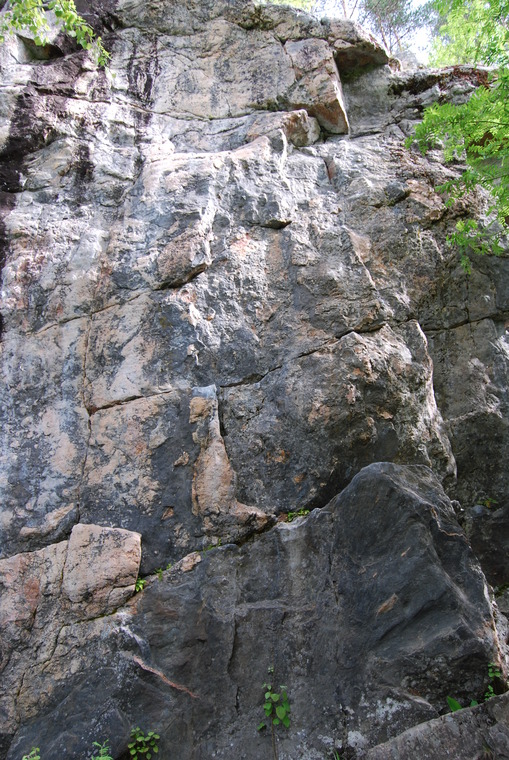
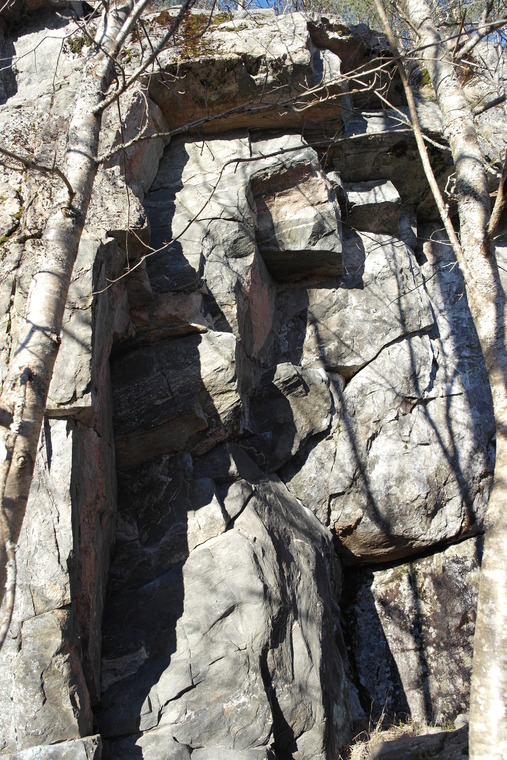
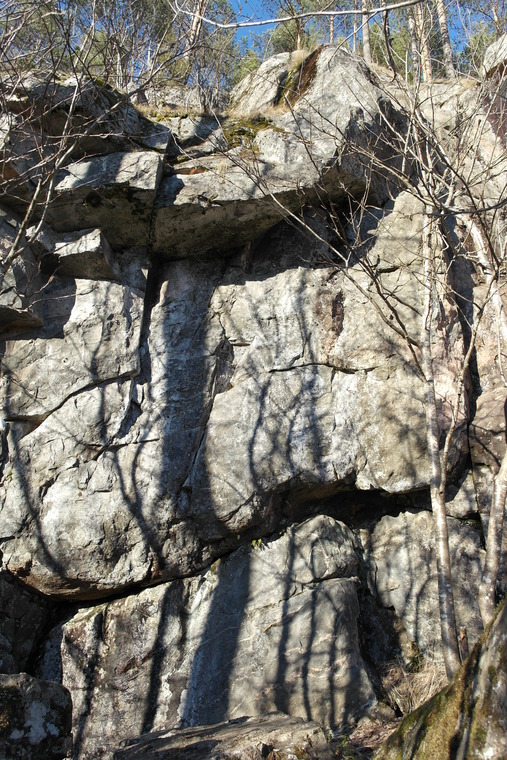
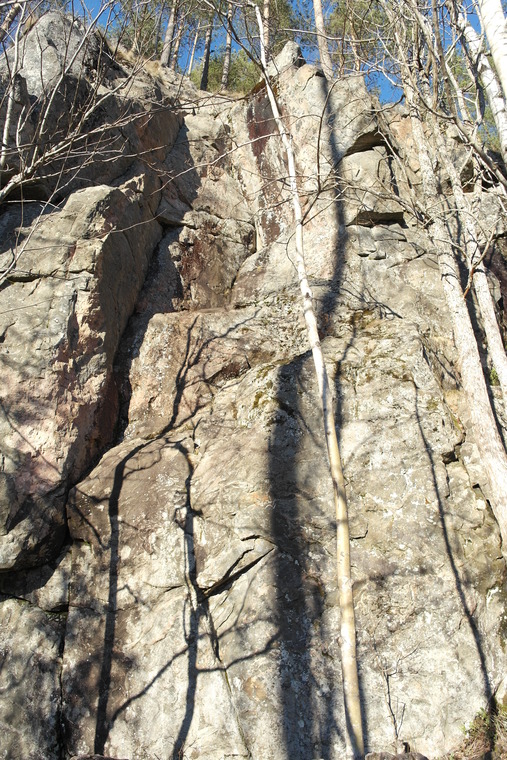
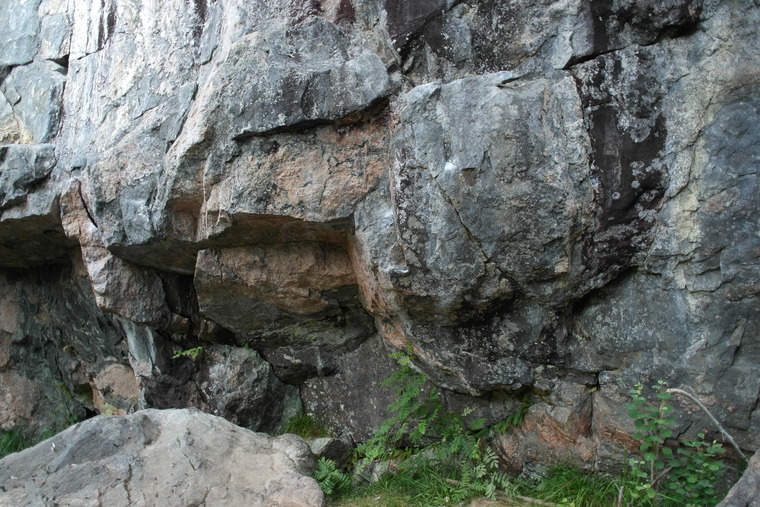
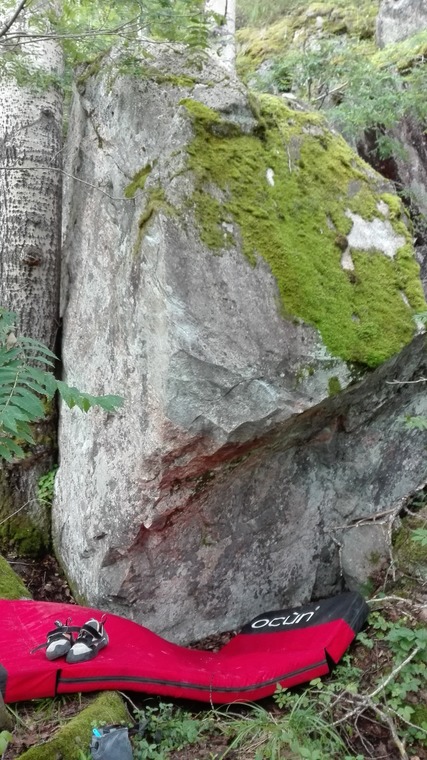
Sector #1
1
2
3
4
Sector #1 1 / 13
Sector #1
1
2
3
4
Sector #1 2 / 13
Sector #1
1
2
3
Sector #1 3 / 13
Sector #1
1
2
3
Sector #1 4 / 13
Sector #1
1
2
3
4
Sector #1 5 / 13
Sector #1
1
2
3
4
5
6
7
8
9
Sector #1 6 / 13
Sector #1
1
2
3
4
Sector #1 7 / 13
Sector #1
1
2
3
Sector #1 8 / 13
Sector #1
1
2
3
4
5
Sector #1 9 / 13
Sector #1
1
2
3
4
Sector #1 10 / 13
Sector #1
1
2
3
Sector #1 11 / 13
Sector #1
1
2
3
Sector #1
1
Sector #1 13 / 13
  • Side of the approach trail. Sit start: Left hand on undercling and right hand on good crimper.

There are 2 routes that have not yet been drawn on a topo image. See full list of routes from Sector #1 .