-
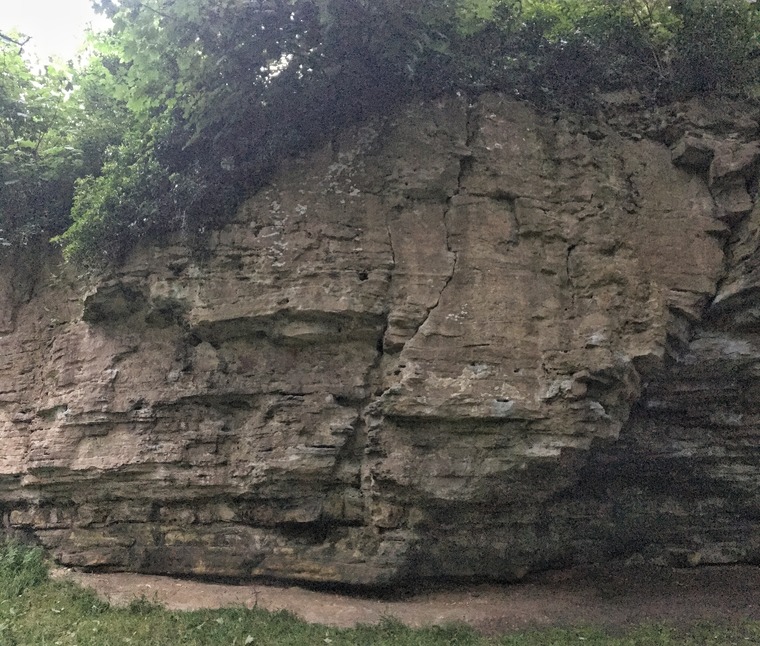
Start at Twin Cracks and Traverse through the roof staying on or below the caves lip to finish at Easy Crack.
-
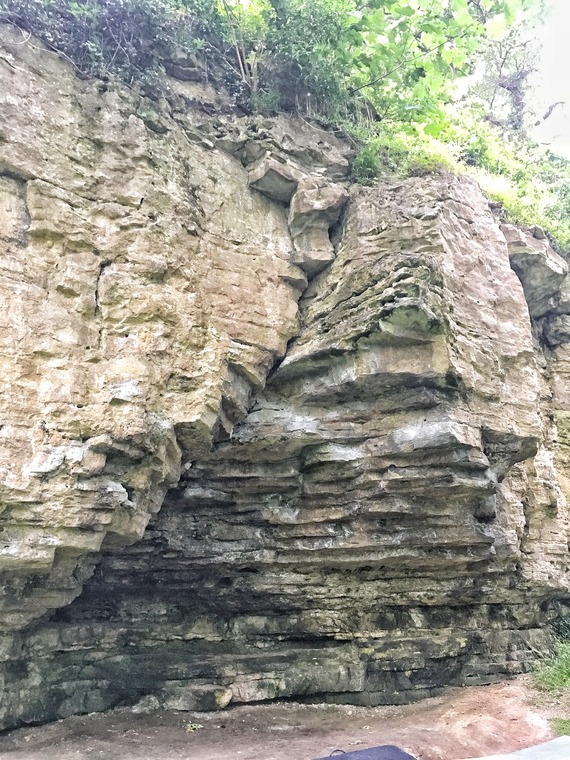
Starting just left of Cobweb Crack in a pocket and crimp trend left out of the cave to climb the rib finishing in the obvious slot just left of the top of Cobweb Crack.
CD B2 P5b
-
As for Wetherby Whaler low start but without the massive hole.
-
SDS climb the Cobweb filled crack, various finishes available.
CD B2 P6
-
From the jugs at the base of the overhang pull up and find your feet/heels to work your way up to the ledge on good holds.
-
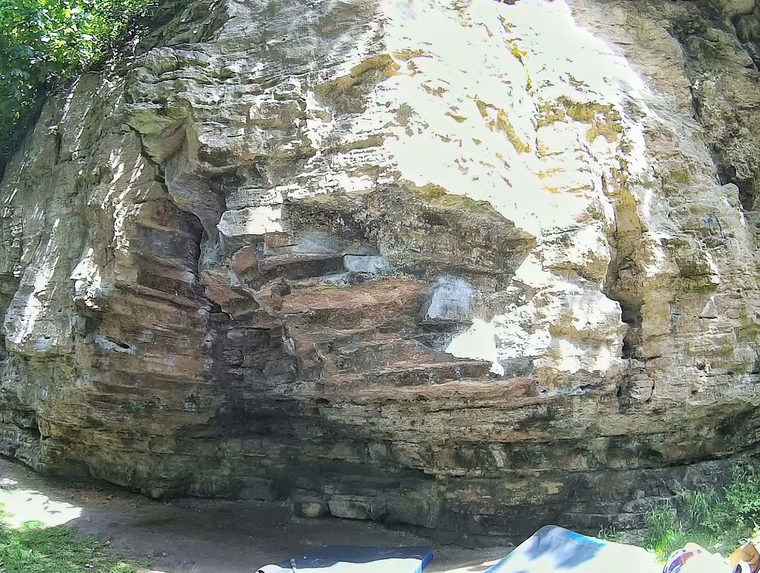
Start sat under the main roof, left hand in obvious pocket and right hand on ledge. Take sidepull crimp on right arete and take a leap of faith for the big ledge in centre with left hand.
Finish Up the prow.
-
Start 'Fiddle Me This' and finish up the headwall as for 'Prow Harder'
-
Start sat under the main roof from the specified starting position of left hand in the left pocket and right in the right. Climb out directly out of the roof eliminating the right arête holds and good crimps.
-
Start as for The Wetherby Pinch but climb higher on right arete before traversing across to finish high and left
-
SDS in pockets just left of Easy Crack, climb up through good holds and head left on easy ground to large ledge - finish up the prow. CD B2 P9a
-
Eliminate big hold out left- Start as Wetherby Pinch but climb straight up the hanging arete.
-
SDS Eliminate from pockets just left of Easy Crack head left into the pinch, use a clever heel/toe cam to match in.
Head leftwards and up through good holds and crimp to the top of the prow.
CD B2 P9b
-
CD B2 P11
-
Slightly easier Traverse from Easy Crack on the right if the cave along the roofs lip finishing at Twin Cracks.