-
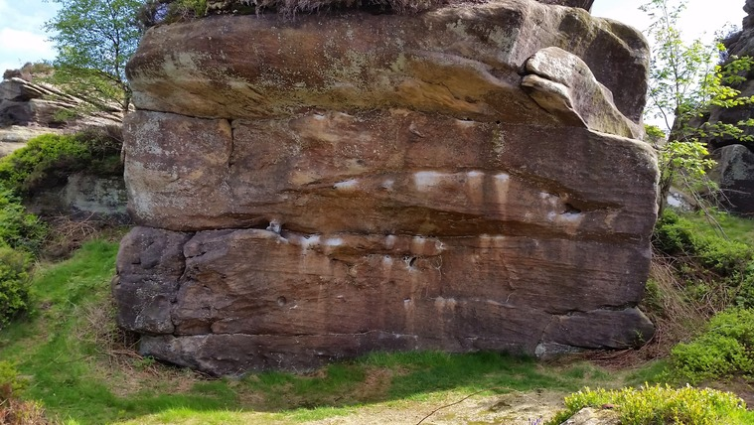
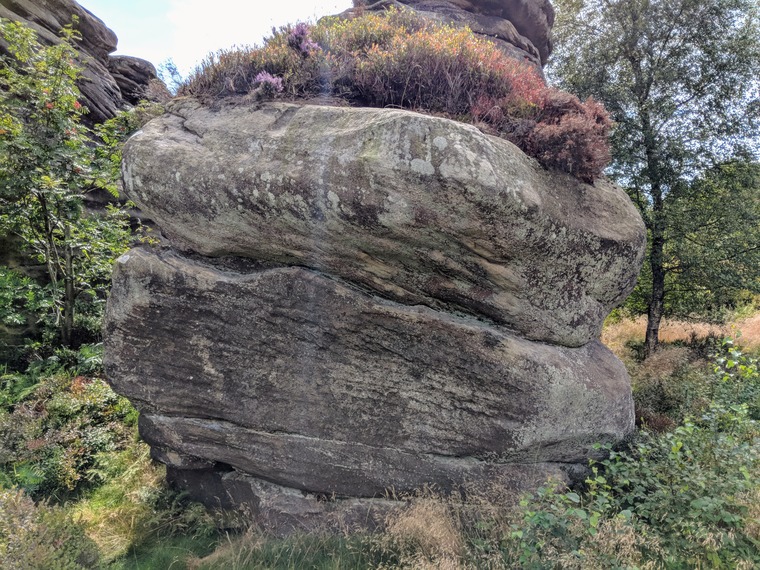
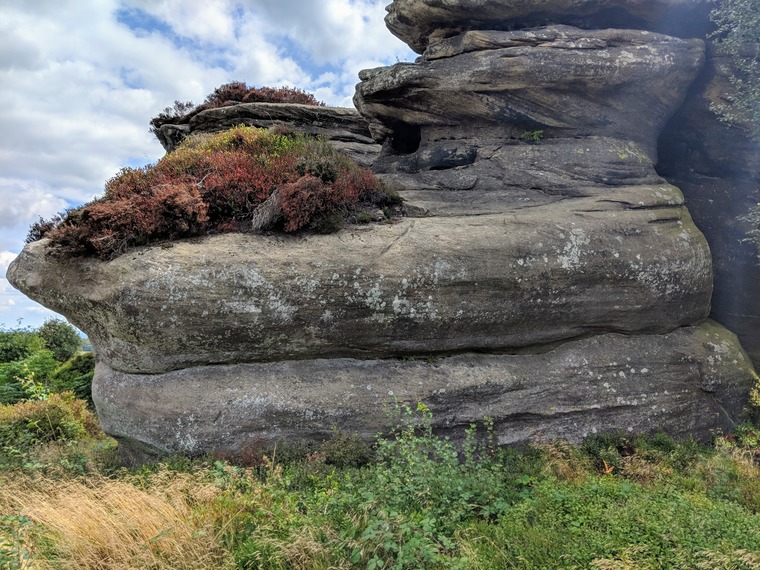
Traverse right past big holds and small crimps, to slap to the big ledge. From here make long pull to the lip.
-
Start as for fisherman's Friend. Move right from sloper into good crimp and up into jug slot, before finishing as for Dolphin's Nose. Avoid the crimp rail used on Dolphin's Nose.
-
From the pillar traverse through the higher crimps, to the jug before the arete.
-
SDS to Porpoise Unknown, using sidepull jug and crimp to start.
-
From Large thread to 2 slopers in the seam - escape here.
-
From hole, up through small crimps, to finish via the eponymous feature.
-
SDS to Dolphin's Nose from the low rail.
-
From the two crimps on Flipper, up and right to the pocket left of the starting hold for Sharkbait. Then up to the big green pocket, before finishing as for Dolphin's Nose.
-
Big Dyno to the lip.
-
SDS the arete, to top out over the back of the dolphin.


