Sectors
Car Park Boulders
Cubic & Jokers Area
Acme Wall Area
The Ripple Effect
Happy Days Area
Red Tape Area
Cyclops & The Snout
Cleft Buttress
Rachael's Box
Anniversary Arete
Black Chipper Area
Titfield Thunderbolt
The Junk Yard
Duggie's Dilemma Area
Dancing Bear Amphitheater
Druid's Idol Area
Pinky Area
Belly Porkers Area
Keeper Crack Area
Niche
Flower Pot Area
Blacksmith Area
Jim's Mantel Area
Zebra Buttress
The Flying Saucer
Hidden Roof & Kangaroo Wall
Heart Shaped Slab
Hare's Head
Dog's Head
Watchdog Area
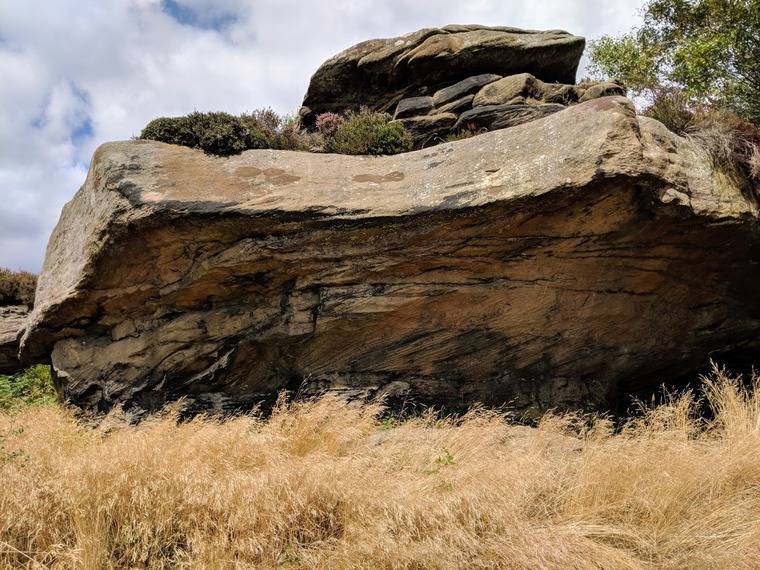
Low Roof
1
2
3
Low Roof 1 / 5
  • Traverse the whole length of the roof on small holds, to finish up "The Lone Deranger"
  • From a SDS on crimps up the blunt arete.
  • SDS up the RHS of the scoop to the arete.
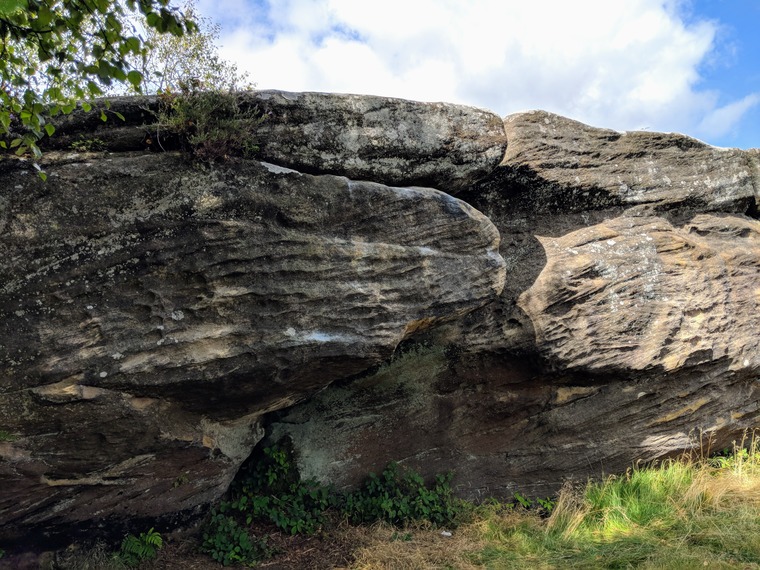
Low Roof
1
2
3
4
5
Low Roof 2 / 5
  • Traverse the whole length of the roof on small holds, to finish up "The Lone Deranger"
  • From a SDS on crimps up the blunt arete.
  • SDS up the RHS of the scoop to the arete.
  • Sit start from a poor pocket and crimp, up the arete.
  • Sit start at horizontal jug, use a flake out left and slopers to reach the top.
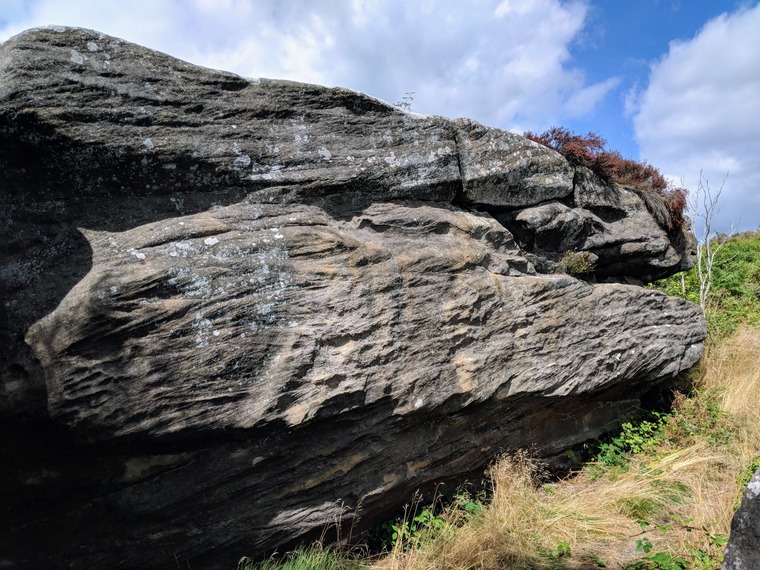
Low Roof
1
2
3
4
5
Low Roof 3 / 5
  • SDS from slot traverse right to top out above break.
  • Start as for Roofer, but continue right on slopers, past hanging arete, the deep crack and the slopey break.
  • SDS as for Backflip, but use slopers up the arete.
  • SDS Using 2 slopers. Traverse right on crimps below the break to finish as for Roofer.
  • SDS as for back flip, pinch the hanging arete left hand, then up to top.
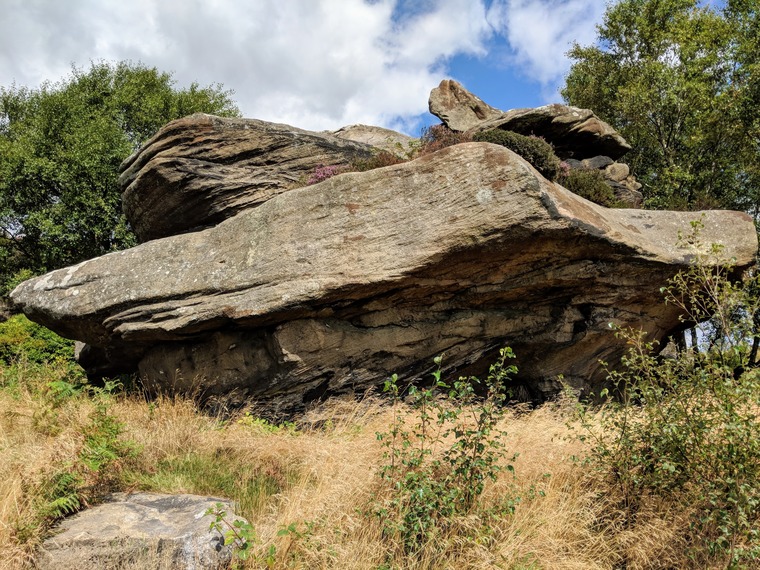
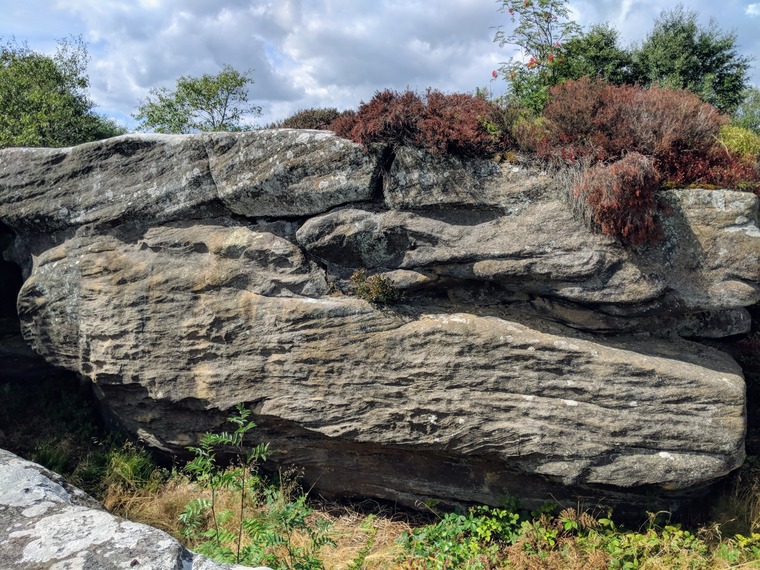
Low Roof
1
2
3
4
Low Roof 4 / 5
Low Roof
1
2
3
4
Low Roof 5 / 5