-
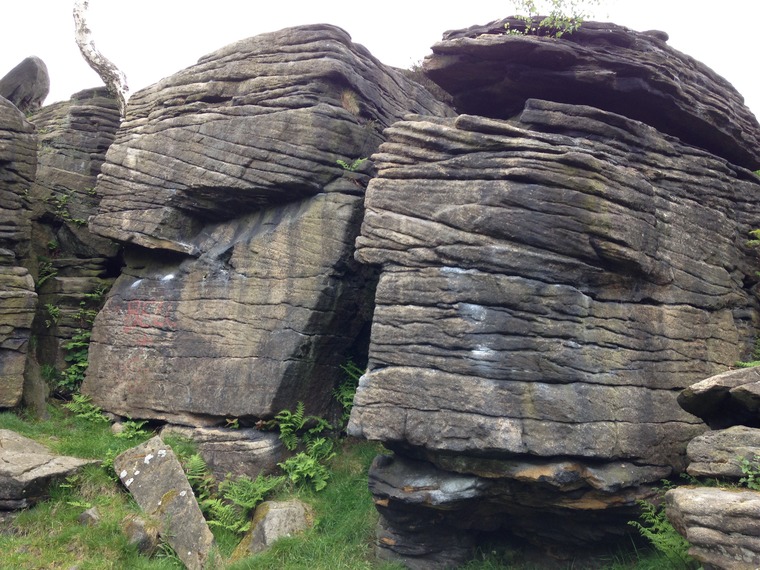
The short left arete
-
The wall just right of the arete on positive holds.
-
The wall via the big hole.
-
Eliminate line from the large hold build your feet high and latch the higher hole then top - No additional hand holds.
-
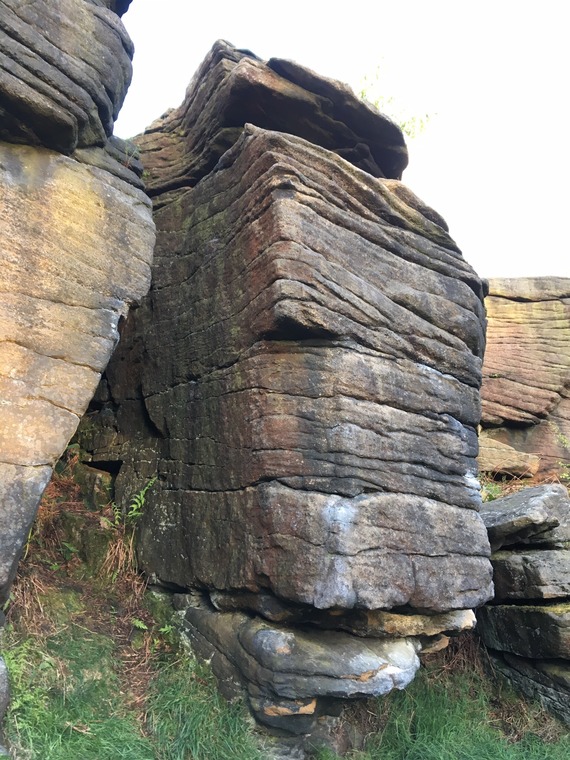
The awkward right arete climbed on its LHS.
-
Opposite the crimpy wall and within the Rift from the good ledge up through positive holds
-
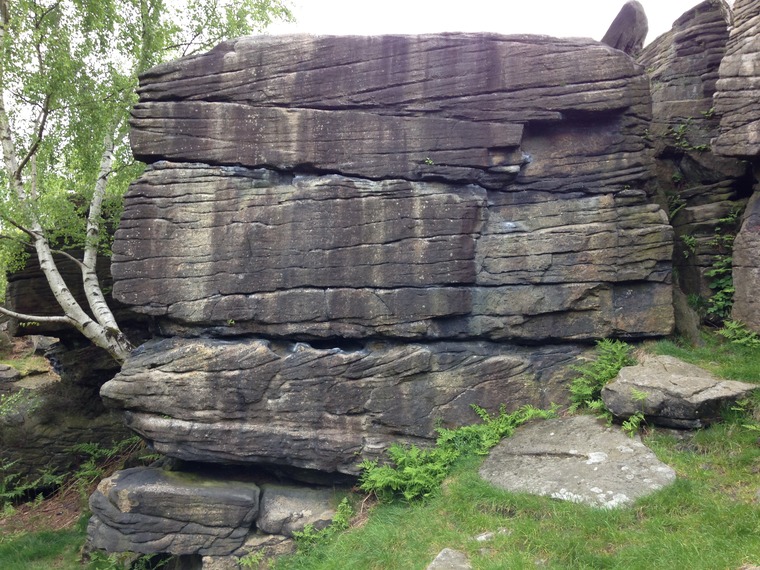
The left arete. CD B8 P17
-
Straight up the block from a standing start.
-
SDS the front face of the block.
-
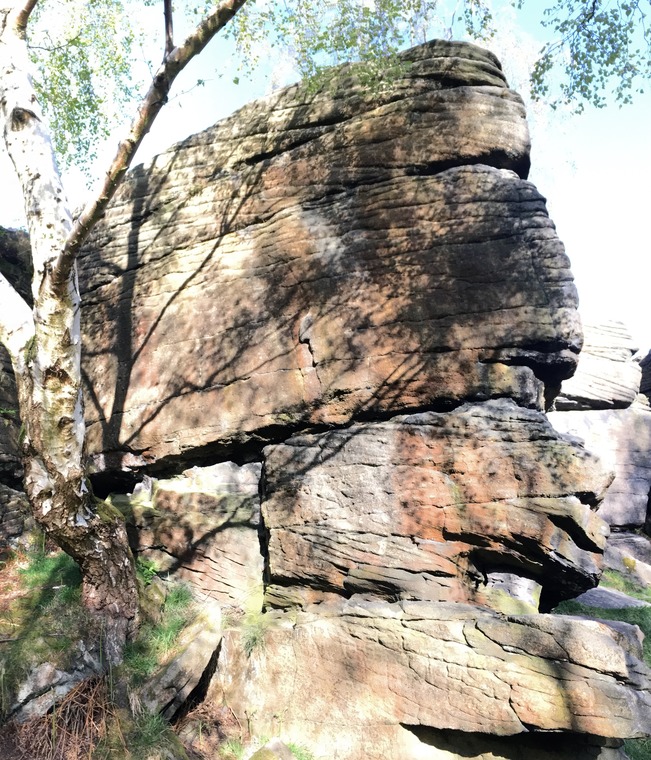
SDS to Golden Oldie Wall.
-
RHS of the face behind the block to the right from standing.
-
Sit on the boulder, pull on from two undercuts to an easier top out.