-
The grooved arete is nice on either side.
-
Around the left arete of Reach for the Sky, the wall with the undercut rib left of Grooved Arete.
-
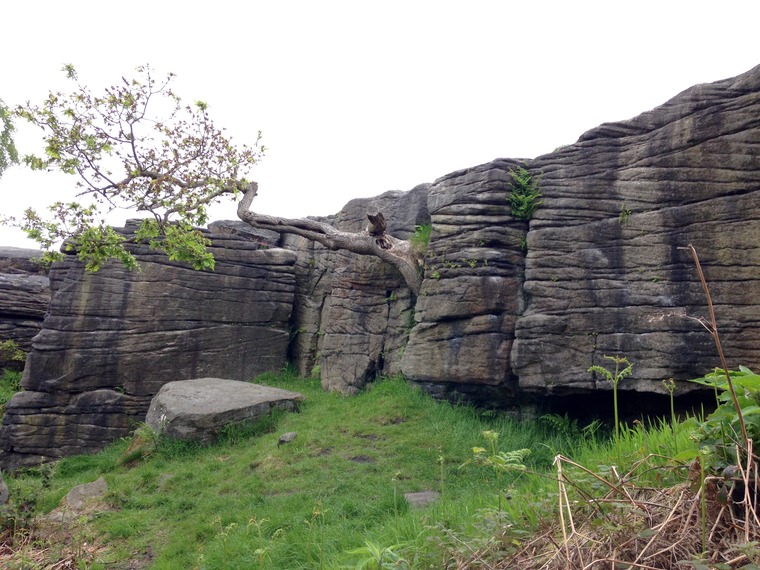
Starting from Stretch on the far left of the block traverse rightwards avoiding the top, crossing the gaps and passing the tree to finish up above the JOHN graffiti. The tree can be in or out...
-
Sit start from the large low ledge, gain the slopers and crafully work your way up the slab.
-
The slab just right of the left arete on slopey crimps.
-
The shorter slab on similar sloping crimps just left of the corner
-
Short arete at around f2.
CD B9 P5 & TC A8 P6
-
The wall left of the tree stump. CD B9 P6.
-
The wall to the right of the tree.
CD B9 P7 & TC A8 P2(2nd topo).
-
The cracked arete right of the tree.
CD B9 P8 & TC A8 P3(2nd topo).
-
Sit start under the overlap with feet on the back wall. Make your way up via sloping holds and small crimps.
-
The wall over the 'JOHN' graffiti. Reachy problem unlocked with a high foot.
-
Rockfax Eliminate: Mantle the hold above the 'JOHN' graffiti and reach up high to gain the top...
CD B9 P10
-
Right to left traverse starting above the block, avoiding the top, finishing up the wall right of the tree.
CD B9 P11 & TC A8 P5.