-
Low level L-R traverse passing under Nosey finishing up Short Side.
CD B14 P1
-
Sit start using left arete and right side pull. Climb up to first break and traverse right through the break to top out as for Parker.
-
A stiff pull from under the roof using the left arete and right hand side pull. Finish direct on easier holds.
CD B14 P12a
-
Climb the wall next to the hilly mound from standing.
TC A15 P1a
-
SDS Eliminate - using low break and flake only climb out and cross into flake then up the wall on easier holds.
CD B14 P11 & TC A15 P1
-
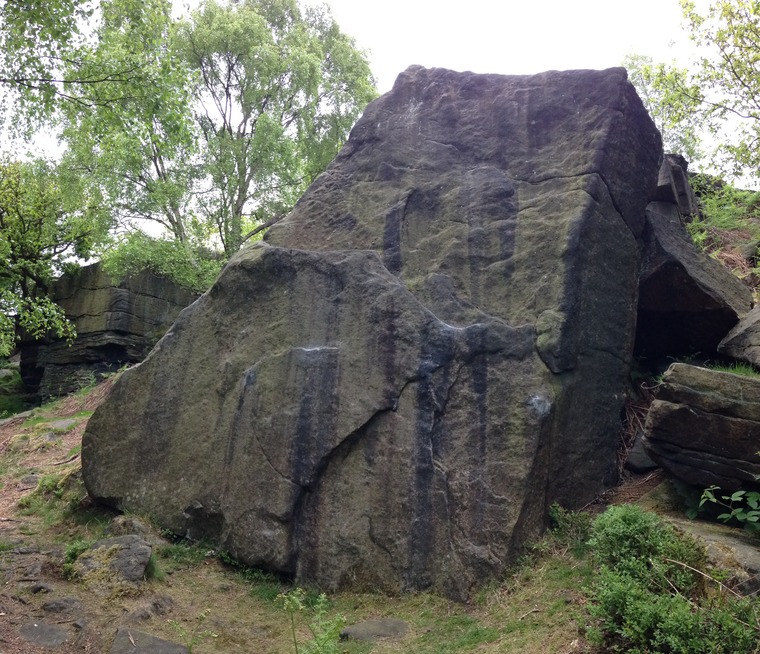
The narrow wall between Why Crack and the hillside starting on the obvious side pull flake - uses anything to gain the top.
CD B14 P12
-
Eliminate to Side Pull - use the flake only.
CD B14 P13
-
The line between Side Pull and Why Crack from a stand start at the horizontal break. climb the wall direct. lovely warm up/stretch out.
-
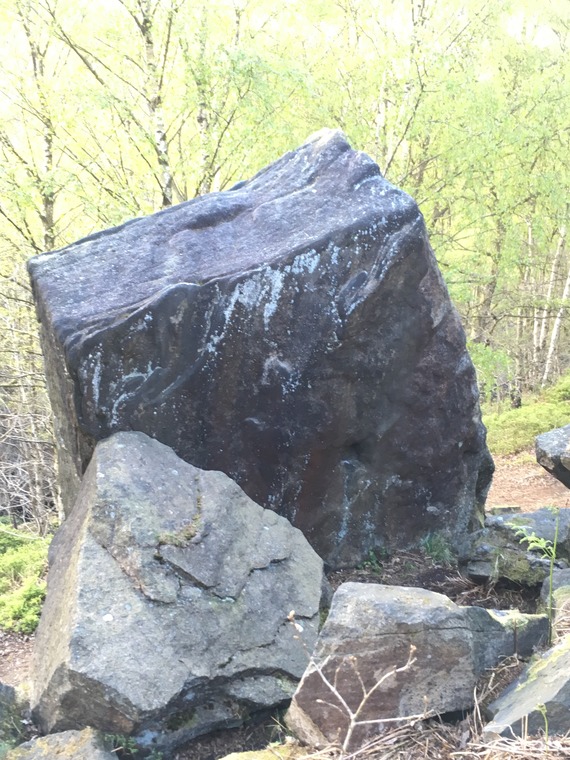
SDS from lowest holds climb e blunt arete LHS of Why Crack - using a clever heel-toe lock in the crack. Easier once the horizontal break is reached.
TC A15 P2
-
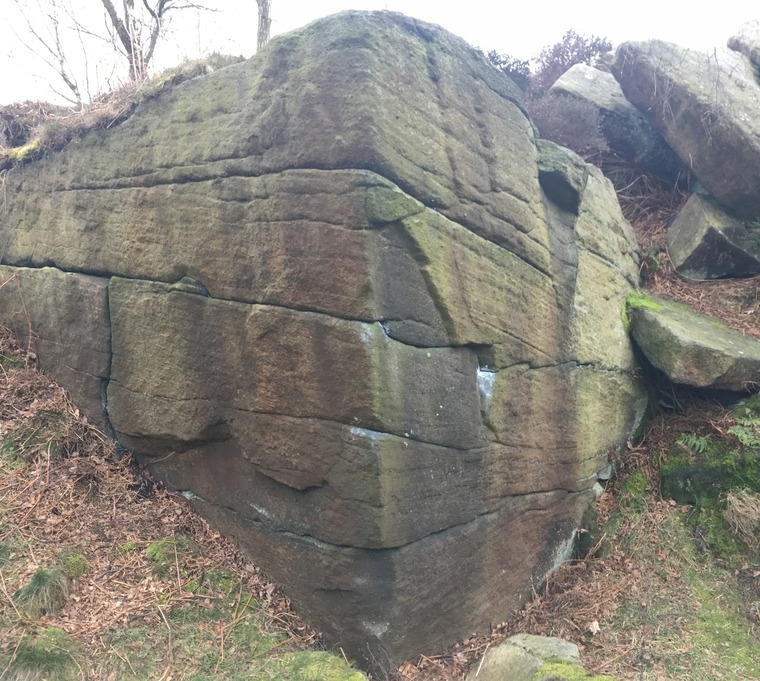
The crack from standing.
-
Stand start as for Why Crack but trends right to the two stacked blocks and tackles them direct.
-
Starts as Why Crack - trend up and right around the stacked blocks to finish via the scoop.
-
SDS climb the crack.
-
Sit start on the flakey wall beneath the overlap, make your way onto the right arete and up as for the stand.
-
SDS under roof to finish up Lady Penelope.
TC A15 P4 (c)
-
The right arete from standing. Smears on the face and a dynamic (static ways are possible) move to the small hold on the scoop and up.
-
SDS under the shelf then climb the nose.
-
As Parker but finish rightward on the arête
-
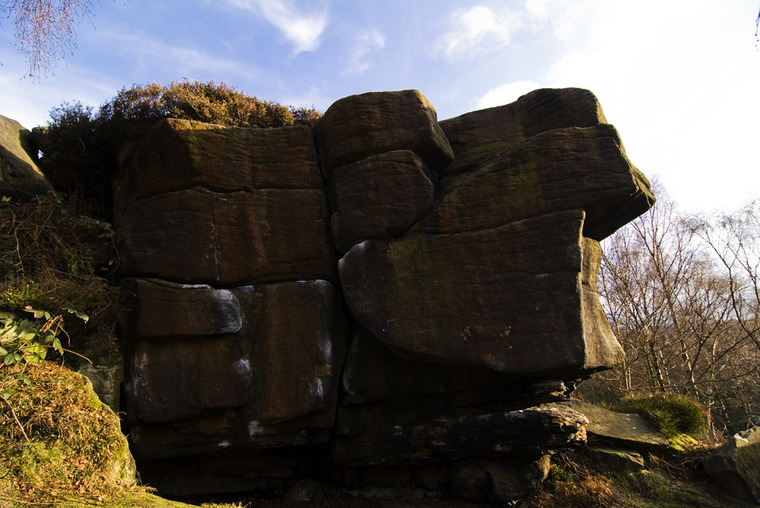
Tackle the wide overhanging nose from a stand start hugging the aretes. Easier topped out to it's RHS but can be tackled direct - though the grade stays the same.