Phantom Area
1
2
3
4
5
Phantom Area 1 / 3
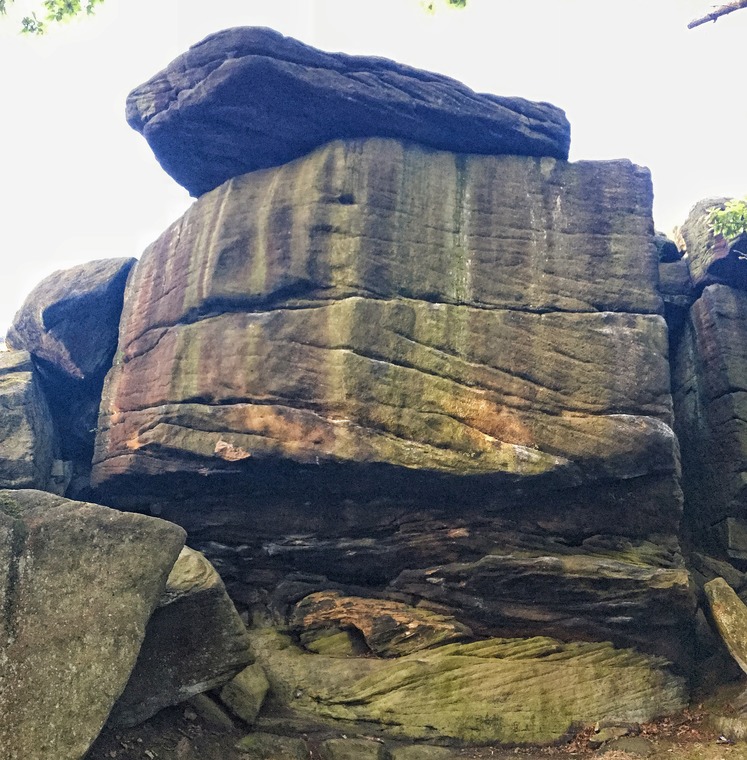
  • Low start under overlap then up the short wall and over the shelf left of the roof. CD B19 P1
  • Climb the blunt arete and roof above direct. CD B19 P2
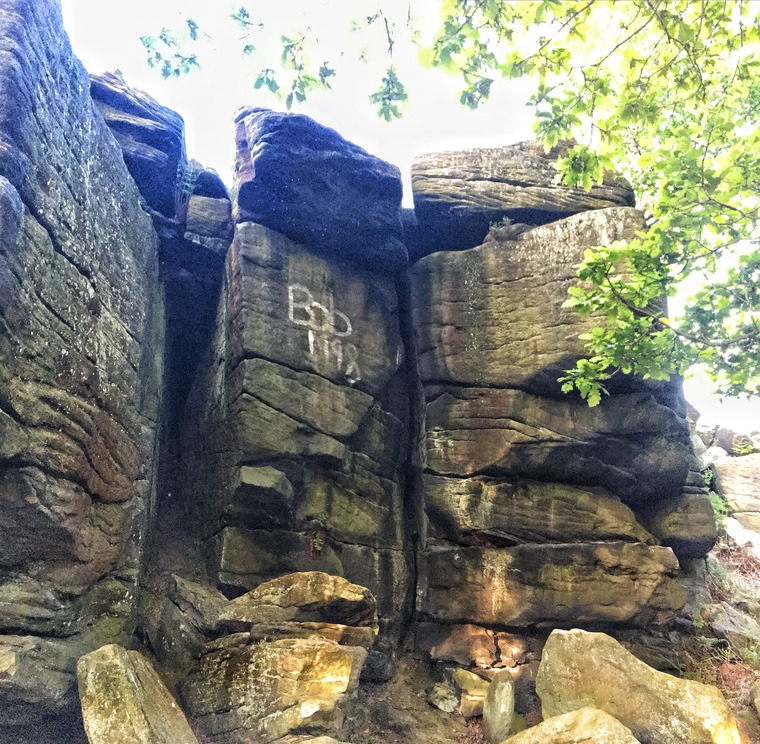
  • Hard for the grade. A long span or via the poor dish to make the break before the roof. CD B19 P3 & TC A22 P2
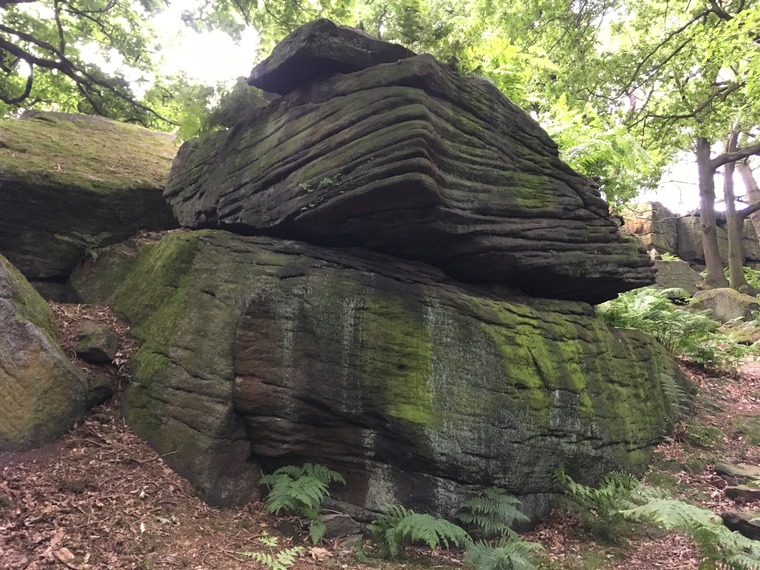
  • SDS from the shelf below the overhang near right arete - Traverse up and left along the breaks under the roof, then up onto the face at the arete - keep heading leftward towards the ledge and left side of the roof. Top out here. CD B19 P2a & TC A22 P1
  • Right arête is a difficult line. CD B19 P4 & TC A22 P3
Phantom Area
1
2
3
4
5
Phantom Area 2 / 3
  • The wall just right of Phantom Rib arete above the Boulder CD B19 P5 & TC A22 P4
  • Block just right of the Rift of Phantom Wall - climb the left arete and capping roof. Bad landing CD B18 P6 & TC A22 P5
  • The dark and dirty crack in the corner. CD B18 P7 & TC A22 P6
  • Left side of the prow via poor breaks is a tricky line with a bad landing. CD B18 P8 & TC A22 P7
  • RHS of the prow via the flake just left of the Stump. CD B18 P9 & TC A22 P8
Phantom Area
1
Phantom Area 3 / 3
  • Block below and right of Phantom area - climb the aretes creases on the pointed Boulder. CD B18 P10